Video Tutorial: Accurate, Easy, Automatic Timesheets with Chrometa: http://youtu.be/V9EAi-Bds7w
Now that you have your computer, phone, and meeting time entries captured, you can move them to your Timesheet. The Timesheet is located beneath the Unbilled Time section on the Time - Summary screen. Like the Unbilled Time section, the Timesheet date range can be modified using the date selector in the upper-left portion of your screen.

Moving Unbilled Time Entries to Your Timesheet
You can move time entries to your Timesheet by assigning them to a Project.

As you categorize and annotate time entries, your Timesheet will be automatically populated.
Categorizing Entries From the Summary
To categorize a time entry:
- Check the box to the left of the entry in the Unbilled Time section
- Select the Move To Project dropdown
- Select the appropriate project for categorization.
Tip: Select multiple consecutive entries at once by selecting the first entry, holding down the Shift key, and selecting the last entry you want. Each entry in between the two will also be selected.

First, check the box to the left of the entry.

Then click the Move To Project dropdown to select the project for this time entry.
Use the auto-complete field to filter your client/project list - just start typing, and it will pare down your list.
You can also setup a Keyword-Based Rule to perform this action automatically for you. Please see: Setting Up Keyword-Based Rules for Automatic Categorization

This rule will automatically categorize entries with the keyword "SMUD" to your Timesheet.
Categorizing From the Timeline
You can also categorize time entries directly from the Timeline (Time - Timeline) by checking the box to the left of the entry, selecting the Move To Project dropdown, and then selecting the appropriate project for categorization to your Timesheet. The Project column, located on the far-right side of the table, will update accordingly.

Use the Move To Project dropdown to categorize entries from the Timeline to your Timesheet.

Multiple consecutive entries categorized to the same Project.
Annotations on Your Timesheet
The Timesheet combines time entries with "like" annotations. If items are sent to the Timesheet with an Annotation, they will be nested within this Annotation. If the entries were only categorized to the Timesheet, they will display under the Unannotated Time for that Project.
Here, two time entries are combined under the annotation "Preparing notes for panel discussion". The Client is "Public Speaking", and the project is "Guerrilla PR for Startups".

This annotated and categorized entry originally consisted of two unique, but obviously related, time entries.
Here is what Unannotated Time looks like on a Timesheet. We do have a shortcut available for annotating all entries categorized to a given Project on a Timesheet. Click the Annotate Time mouseover button located just to the right of the Unannotated Time label.

Click the Annotate Time button to give all subsequent unannotated entries the same annotation.
Adding Manual Entries to Your Timesheet
You can add a manual time entry directly to your Timesheet by using the Manual Entry mouseover button, located just to the right of your Client - Project name (when you move your mouse over it). It's the + button shown here just to the right of the Project name:
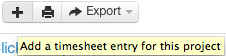
The "+" button allows you to add a manual entry directly to the Timesheet under a Project.
This will bring up the Create Time Entry popup, with the Project prepopulated for you. Enter a Description, Duration, Start Time, Date, Device, and click Save.

Popup for adding a manual time entry to your Timesheet.
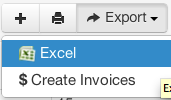
Exporting Your Timesheet to Printable Format and/or Excel
You can export your entire Timesheet to a printable format, or you can export one project at a time. To export your entire Timesheet to printable format, click the Print button located to the right of the Timesheet label (second button from the far right).
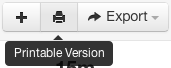
To export just one project from the Timesheet to printable format, mouse over the settings menu to the right of the project name, and select Printable Version.

The same goes for Excel - to export your entire Timesheet to Excel, click the Export to Excel button located to the right of the Timesheet label:
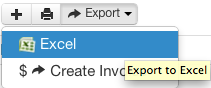
To export just one project to Excel, mouse over the settings menu to the right of the project name, and select Export to Excel.
Exporting Your Timesheet to an Integrated Third-Party System
Once you have your Timesheet completed, you can export it to a third-party system with a single click. For our current list of integration partners, please click here.
(And we do take requests, so let us know if your favorite accounting, billing, or project management system is not yet listed).
As a first step, you'll want to setup the integration. Please click here for specific instructions on how to integrate your system with Chrometa.
Once the integration is enabled, you will be able to export your Timesheet to this system via a new shortcut button displayed in the Timesheet header, and the Project settings. To export your entire Timesheet, click the Export to... button located to the right of the Timesheet header:

To export one project at a time, mouse over the settings menu to the right of the project name, and select Export to...

For more details on your particular integration, please visit our Integration Tutorials here.
Sending Your Timesheet to an Invoice
You can also create invoices directly from the Timesheet view. To bulk create invoices for ALL clients and projects in your Timesheet, click the Create Invoices (All Projects) button displayed to the right of the Timesheet header:

To create an invoice for a particular project, mouse over the settings menu to the right of the project name, and select

You'll be taken directly to the New Invoice screen with your invoice already started (and perhaps nearly completed!) for you. This screen is fully editable, and the table that contains your time entries behaves like a spreadsheet, so that you can conveniently make any final modifications needed to the invoice.
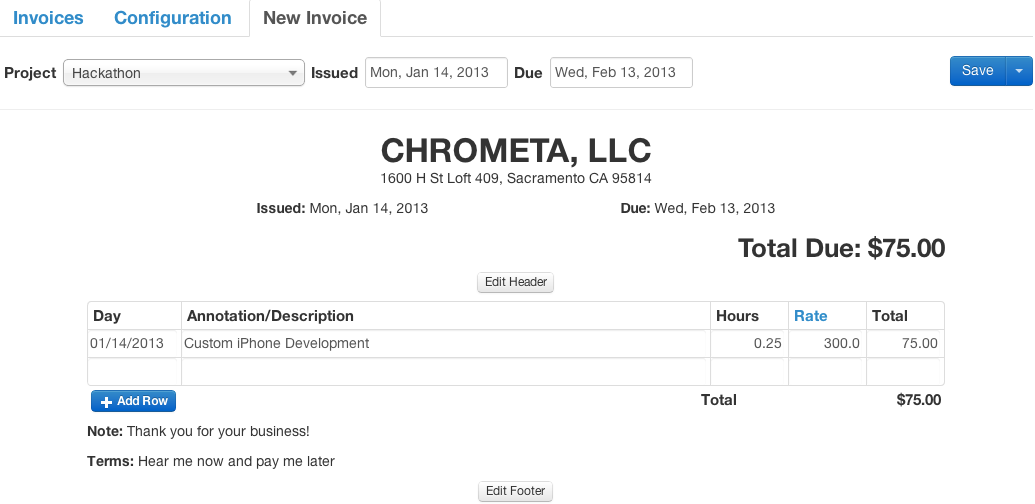
Please click here for a full guide to Invoices.
Rounding Settings
You can let Chrometa round your time entries up to a certain increment (ie. 6 min, 15 min) by adjusting the Rounding Setting dropdown located to the right of the Timesheet label.

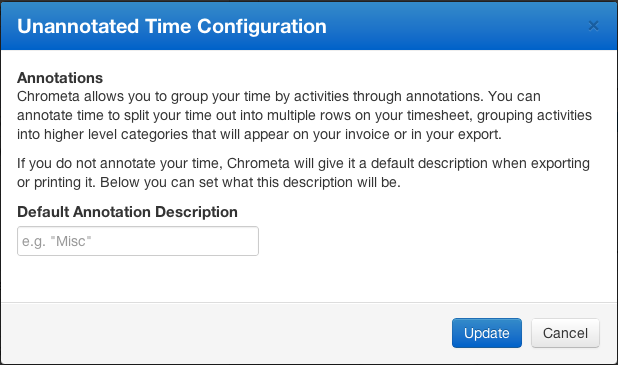
Default Annotation
Chrometa allows you to group your time entries together via annotations. You can manually annotate your time, or allow Chrometa to give it a default description when exporting or printing your Timesheet.
To set your default annotation, click an Unannotated Time link in your Timesheet to bring up the Unannotated Time Configuration popup.
For more on annotations, please see our full tutorial on combining and annotating your time entries.
Comments
0 comments
Article is closed for comments.