Enable the FreshBooks Export
To export your Chrometa time entries to FreshBooks, go to Account - Integrations and enter your FreshBooks URL (no "www" - just the base URL, as in username.freshbooks.com).

If you'd like to export time entries from Chrometa directly into FreshBooks, check the option "Map Chrometa time entries to FreshBooks time entries." (If this is unchecked, you'll create invoices in FreshBooks instead of time entries themselves).
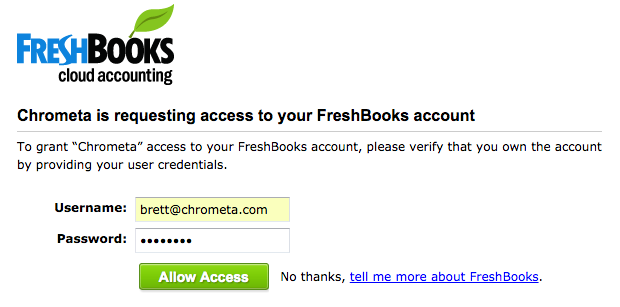
Click Save Integration Info in the upper-right corner of your screen. This will bring up a FreshBooks authorization page, on which you'll click Allow.
Setup Your Projects
Next, sync your Client/Project/Task structure in Chrometa to mirror FreshBooks. Go to the Projects tab in Chrometa, and click the Sync With FreshBooks button at the top of the screen.

This will import your Clients, Projects, and Tasks from FreshBooks into Chrometa so that you can assign time entries to them.
Exporting Your Chrometa Timesheet to FreshBooks
Once you have your Timesheet completed in Chrometa, you can export it to FreshBooks with a single click. (More on Chrometa Timesheets here).
To export your entire Timesheet, click the Export to FreshBooks button located to the right of the Timesheet header:

To export one project at a time to FreshBooks, click the Export menu to the right of the project name, and select Export to FreshBooks.
Your time entries will be ported over to FreshBooks, with the Annotation field from Chrometa becoming the Description in FreshBooks. (More on Annotations here). Please note that items must be tied to their corresponding FreshBooks Task when they are exported. If they're not already associated with the FB task, you can assign it using the FreshBooks Task column in the Timesheet.
Comments
0 comments
Article is closed for comments.